I’ll never forget the feeling—that cold drop in my stomach when I woke up and saw a single diamond stud earring lying on my pillow. My other earlobe was bare. For a heart-stopping moment, I thought its partner was lost forever. This was my first “real” jewelry purchase, and that scare taught me more about diamond stud earrings than any sales pitch ever could. They aren’t just a purchase; they are an investment in your daily style, and you need to choose them with both your head and your heart.
The truth is, a perfect pair of diamond stud earrings is arguably the most versatile piece of jewelry you will ever own. I wear mine everywhere, from grocery runs in a sweatshirt to black-tie weddings. But getting it right means looking beyond the sticker price. The secret lies in understanding the diamond’s quality (the famous 4Cs) and, just as crucially, the setting and backing that will keep them safe on your ears. Let’s break down everything I’ve learned, so you can find your forever pair without the drama.
The Heart of the Matter: Choosing Your Diamonds (The 4Cs)
Think of the 4Cs—Cut, Color, Clarity, and Carat—as the DNA of your diamond. Getting a handle on these is the single most important step. It’s how you ensure you’re getting the most sparkle and value for your money. [Cite a credible external source here] like the Gemological Institute of America (GIA) for the official definitions. But here’s my real-world take on what actually matters for studs.
Cut: The Sparkle Factor I Never Compromise On
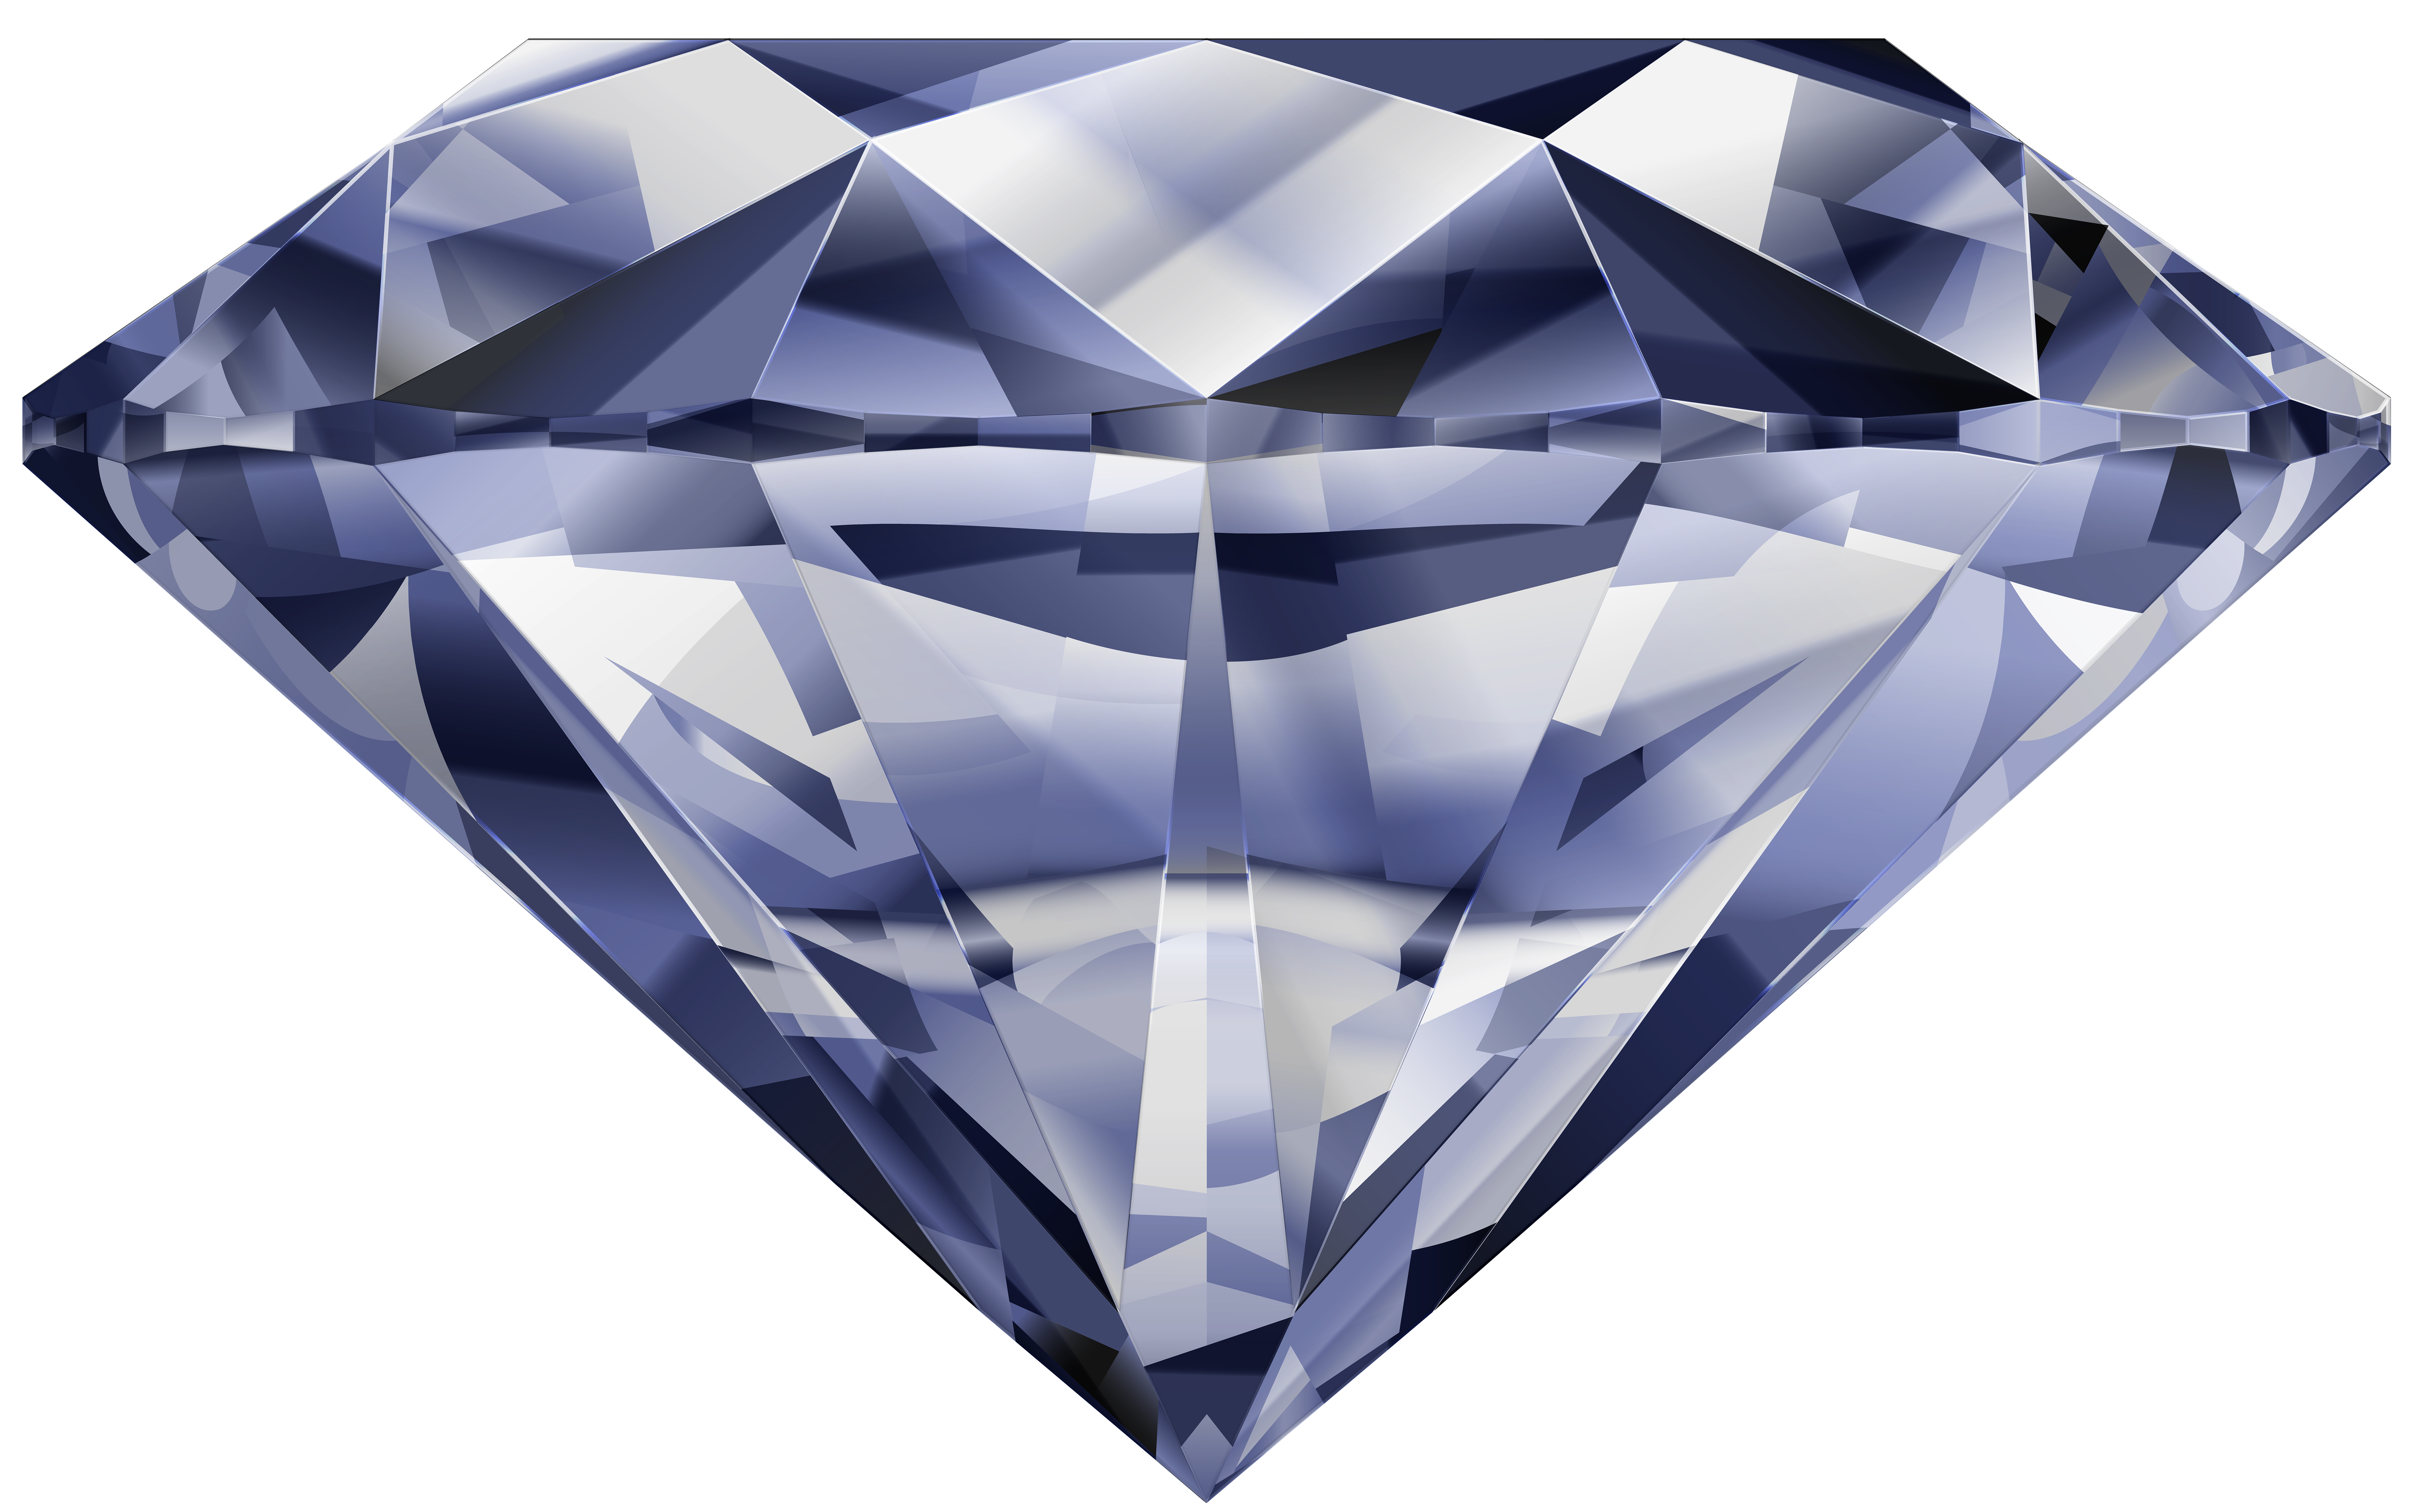
If you remember one thing, let it be this: Cut is king. It has nothing to do with the diamond’s shape (like round or princess) but everything to do with how well its facets are angled to catch and reflect light. A perfectly cut diamond is a tiny disco ball. A poorly cut one? It just looks dull, no matter how big or colorless it is.
In my experience, sacrificing a little on color or clarity to get an “Excellent” or “Ideal” cut is the smartest trade-off you can make. This is the C that breathes life and fire into your earrings. Don’t skimp on it.
Color: Finding the Sweet Spot for Value
Diamond color is graded on a scale from D (colorless) to Z (light yellow/brown). For a massive engagement ring stone that everyone will be inspecting up close, a D-F color grade is stunning. But for stud earrings? It’s overkill, and you’ll be paying a premium for a difference no one can see from a normal distance.
I’ve found the sweet spot for diamond studs is the G-J range. These are considered “near-colorless,” and once set in platinum or white gold, they appear perfectly icy white to the naked eye. You get a beautiful look without the top-tier price tag.
Clarity: What You Can (and Can’t) See
Clarity refers to the tiny, natural imperfections (inclusions) within a diamond. The scale runs from Flawless (FL) to Included (I). Here’s the deal: you don’t need a flawless diamond for your ears. You just need one that is “eye-clean.”
For studs, I almost always recommend looking in the SI1 (Slightly Included 1) or even a good SI2 range. As long as the inclusions aren’t visible to the naked eye and don’t affect the stone’s structure, you are getting incredible value. Why pay thousands more for invisible-to-the-eye perfection?
Carat Weight: It’s Not Just About Size
Carat is a measure of weight, not visual size. A common point of confusion is Total Carat Weight (TCW). If a pair of studs is listed as 1.0 TCW, it means each earring is approximately 0.50 carats.
My personal advice? Don’t get hung up on a specific number. A well-cut 0.90 TCW pair will out-sparkle and can even look larger than a poorly cut 1.10 TCW pair. Focus on the quality of the cut first, then find the largest carat weight that fits your budget within that quality range.
Let’s Talk Settings: The Unsung Hero
The metal setting does more than just hold your diamond; it defines the earring’s style and, most importantly, its security. This is where I see a lot of people overlook crucial details.
Basket vs. Martini vs. Bezel: My Personal Take
There are three main styles you’ll encounter:
- 4-Prong Basket: This is the most common setting. It’s a classic for a reason, allowing lots of light to enter the diamond. The only downside I’ve noticed is that on heavier stones, they can sometimes droop forward a bit.
- 3-Prong Martini: This is my personal favorite. The setting is conical, like a martini glass, allowing the diamond to sit incredibly flush against the earlobe. It creates a very clean, “floating diamond” look. The only potential con: some people with very sensitive or thin earlobes find the pointed end can be slightly irritating over time.
- Bezel Setting: This is the most secure option. A thin metal rim fully or partially encases the edge of the diamond. It offers a modern, sleek look and fantastic protection. The trade-off is that the bezel can make the diamond appear slightly smaller than its prong-set equivalent.
Metal Matters More Than You Think
Your choice of metal affects the look, the price, and even your skin’s reaction. I’ve worn them all, and here’s my honest breakdown.
- Platinum: The top of the line. It’s incredibly dense, durable, and naturally hypoallergenic, making it the best choice if you have sensitive skin. It’s also the most expensive and will maintain its silvery-white color forever.
- 14k or 18k White Gold: This is the most popular choice. It gives you the look of platinum for a lower price. The key thing to know is that white gold is alloyed with other metals and plated with rhodium for its bright white shine. In my experience, this plating can wear off every few years, requiring a quick, inexpensive trip to the jeweler to be re-dipped. It’s a minor maintenance point but one to be aware of.
- Yellow or Rose Gold: These are fantastic choices for a warmer look. They don’t require any re-plating and their color beautifully contrasts with the white diamond. This is purely down to personal style preference.
The Elephant in the Room: Lab-Grown vs. Natural Diamonds
Let’s get straight to it. Lab-grown diamonds are real diamonds. They have the exact same chemical, physical, and optical properties as diamonds mined from the earth. The only difference is their origin. [Cite a credible external source here] like the Federal Trade Commission (FTC) confirms this.
- The Case for Lab-Grown: The primary benefit is cost. You can typically get a lab-grown diamond that is 30-50% larger or higher quality for the same price as a natural one. For me, this meant I could get the 1.0 TCW studs of my dreams in a VVS clarity and D color—specs I couldn’t have afforded otherwise.
- The Case for Natural: For many, the appeal of a natural diamond is its story—a unique gem formed over billions of years deep within the Earth. They also have a more established history of holding and increasing in value over the very long term.
Believe it or not, there’s no right answer here. I own and cherish both. It’s a personal decision based on your priorities: maximizing size and quality for your budget (lab-grown) or owning a piece of natural history (earth-mined).
My Hard-Learned Lessons: Practical Tips You Won’t Find Elsewhere
This brings me back to my pillow story. After frantically searching my bedding, I found the earring back—a flimsy, standard friction back—had simply slipped off in the night. That day, I learned my most important lesson.
My Absolute Must-Have: Secure Backings
The standard “push-backs” (or friction backs) that come with most earrings are, in my opinion, not secure enough for a valuable pair of diamond studs. Here are the upgrades I swear by:
- Screw-Backs: These are my go-to. The post is threaded like a screw, and the back must be physically screwed on. It takes an extra 10 seconds to put them on, but they have never, ever come loose on me. This is the single best security upgrade you can make.
- Locking Backs (La Pousette): These are a fantastic high-end option. The back has a pressure-activated clutch mechanism that you have to squeeze on both sides to release. They are incredibly secure and easy to use.
My At-Home Cleaning Ritual
Your studs will inevitably get cloudy from lotions, hairspray, and daily grime. You don’t need fancy jewelry cleaners. Here’s my simple, 2-minute method:
- Get a small bowl of warm water.
- Add a few drops of a gentle dish soap (like original blue Dawn).
- Let your earrings soak for about 20-30 minutes.
- Gently scrub them, especially around the prongs, with a baby toothbrush.
- Rinse under warm water and pat dry with a lint-free cloth. They will sparkle like new.
Conclusion: Your Forever Jewelry
Choosing the perfect pair of diamond stud earrings is a journey, but it’s one of the most rewarding you can take in the world of jewelry. If I could leave you with a final thought, it would be this: don’t get lost in the noise.
Focus on what truly creates beauty and value: a brilliant cut that makes the diamond dance, a color and clarity that are beautiful to the eye (not just on a certificate), and a secure setting and backing that give you peace of mind. Whether you choose a modest .25 TCW pair or a dazzling 2.0 TCW set, a natural diamond or a lab-grown one, you’re not just buying an accessory. You’re choosing a piece of timeless elegance that will become a part of your own story. Choose wisely, care for them well, and you’ll have a sparkle that truly lasts a lifetime.